These are instructions on how to read, copy from, and write contacts to your iPhone's SIM card using SIManager.
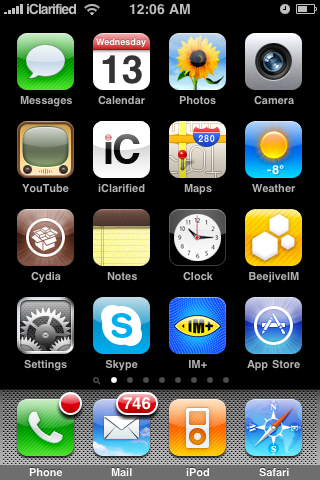
Step One
Press to launch Cydia from your iPhone Springboard.
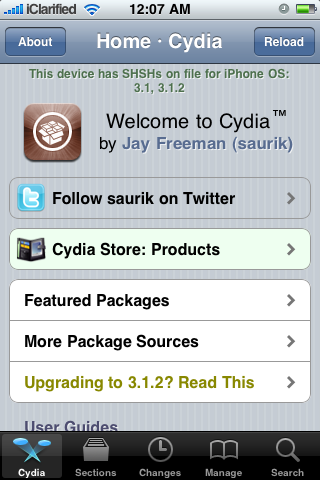
Step Two
Press to select Manage from the tabs at the bottom of the screen.
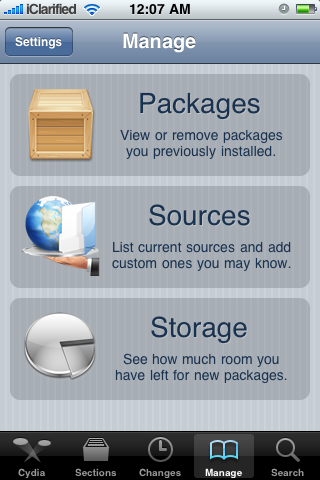
Step Three
Press the large Sources button.
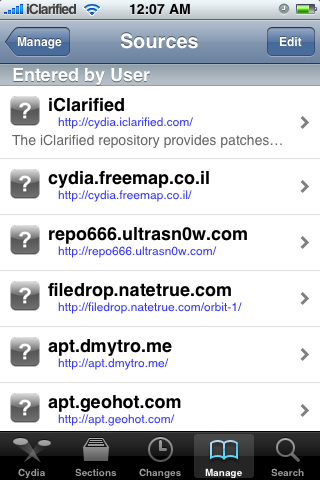
Step Four
Press the Edit button at the top right of the screen.
Step Five
Press the Add button at the top left of the screen.
Step Six
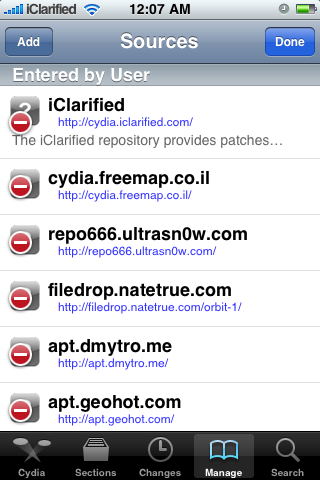
Input http://repo.beyouriphone.com then press the Add Source button.
Step Seven
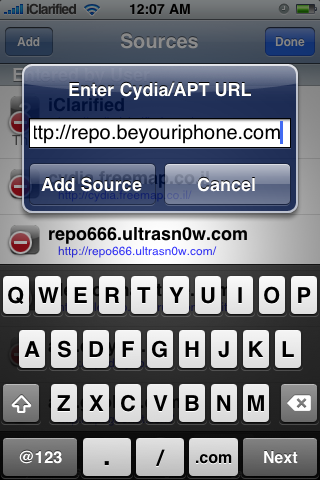
Once the source has been successfully added, press the large Return to Cydia button.

Step Eight
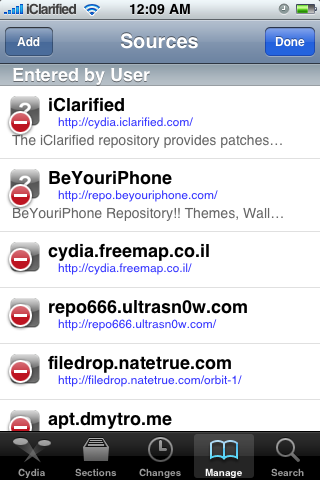
Press the Done button to exit Edit mode.
Step Nine
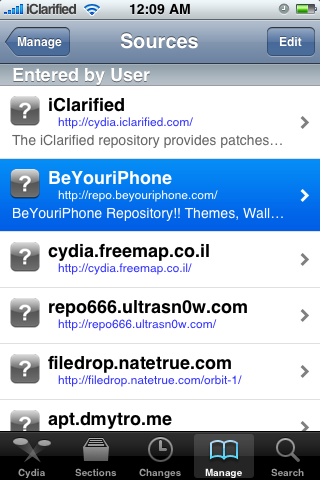
Press to select the BeYouriPhone repository from the list of sources.
Step Ten
Press to choose SIManager from the list of packages.
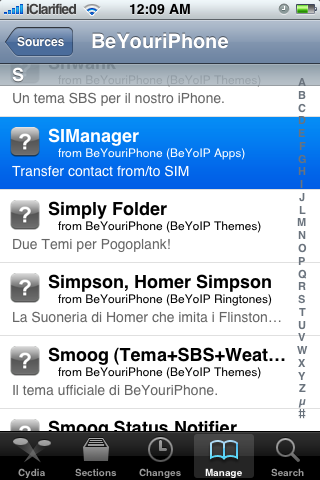
Step Eleven
Press the Install button at the top right of the screen.
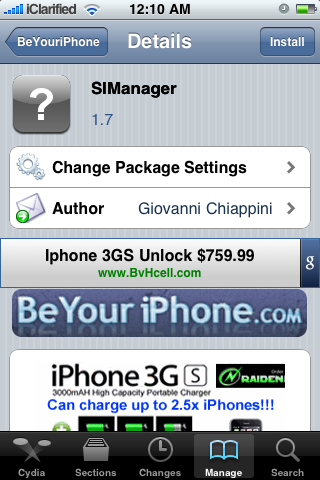
Step Twelve
Press the Confirm button to begin installation.
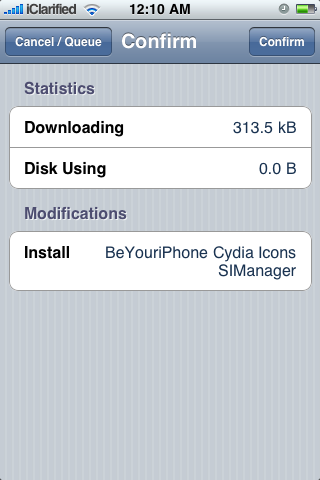
Step Thirteen
Once installation has completed successfully press the Return to Cydia button.
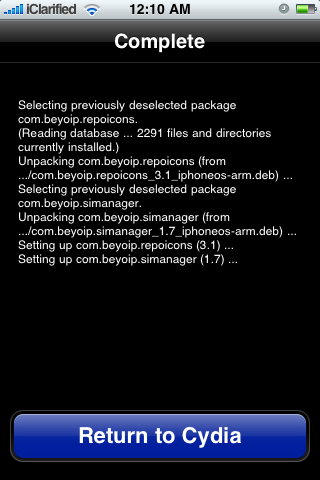
Step Fourteen
Press the Home button to return to your Springboard then tap the SIManager icon to launch the application.
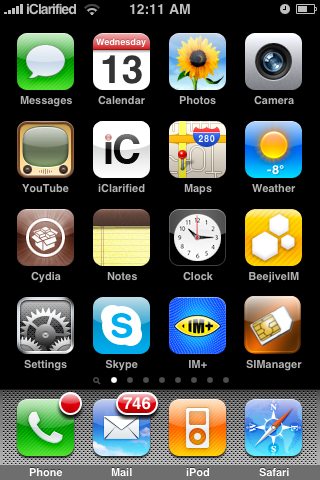
Step Fifteen
Once the program has opened you can use the Setup button at the top left to enable Fast Read as well as set the SIM name format. ie Firstname/Lastname or Lastname/Firstname.
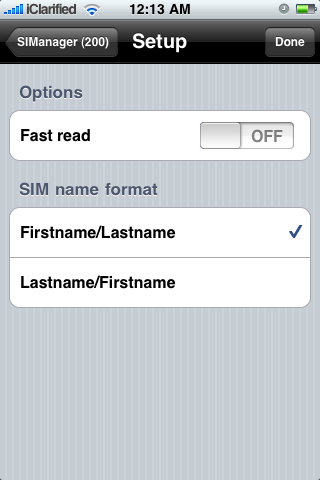
Step Sixteen
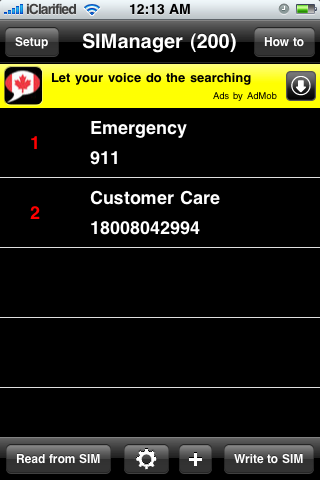
To read your contacts from the SIM card press the Read from SIM button at the bottom of the screen.
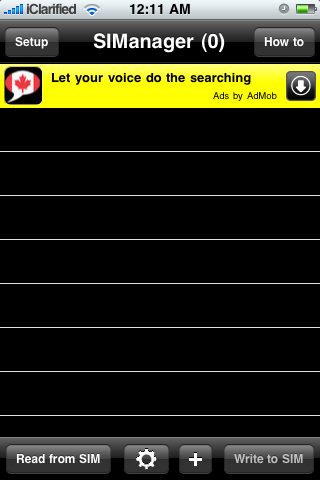
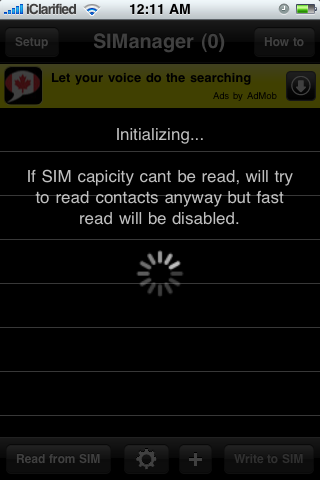
Once all the contacts have been loaded they will be displayed on the screen.
Step Seventeen
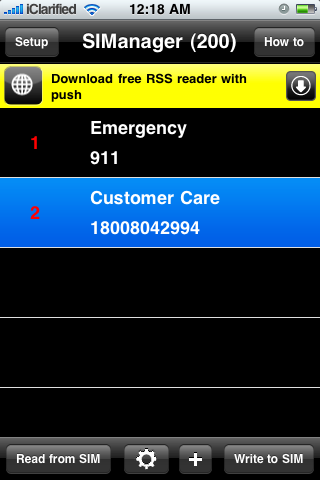
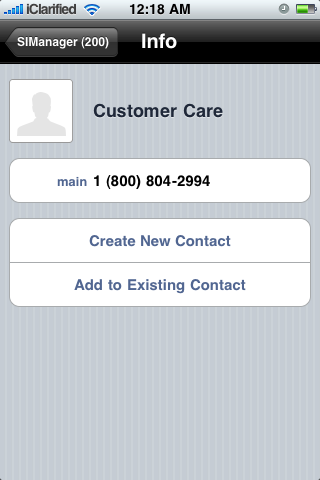
You can press to select a contact and choose to Modify, Delete, or Import it.

Step Eighteen
To add a contact to your SIM card you can press the + button at the bottom of the main screen.
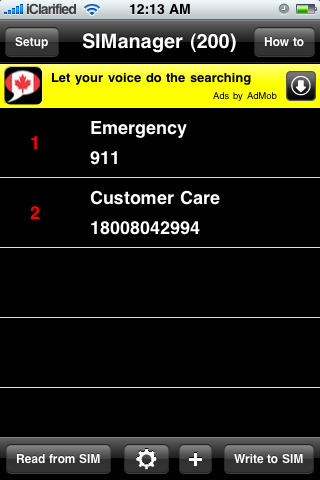
Navigate through your contacts and select the one you would like to add.
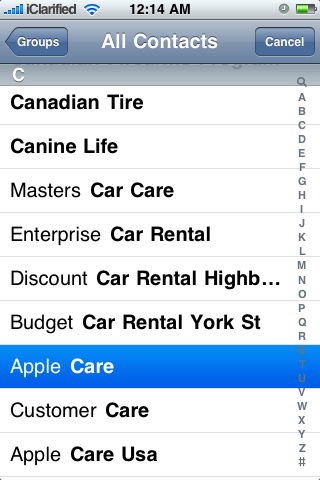
Then select the specific number or press the Add all button if you would like to add all the contacts numbers. Press the SIManager button at the top left to return to the main screen.
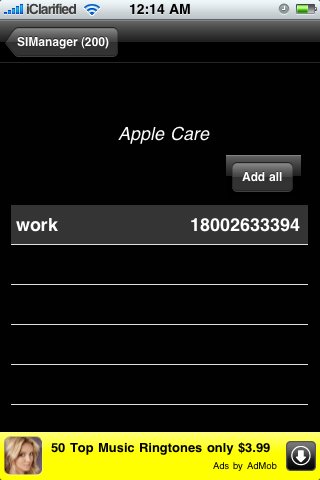
You will notice that the contact has been added to the list and appears on a green background. This means that when you write to the SIM card this contact will be added.
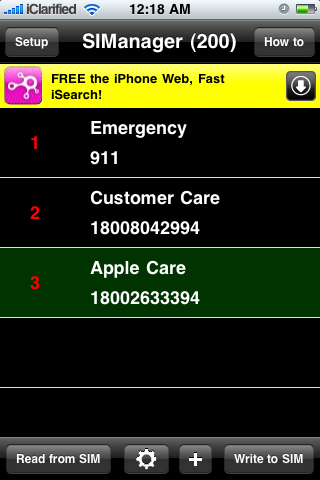
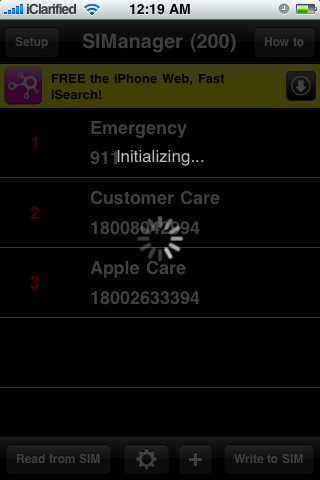
Press the Write to SIM button at the bottom right to commit your changes to the SIM card. Notice when you are done the contact now appears on a black background similar to the other contacts in your list.
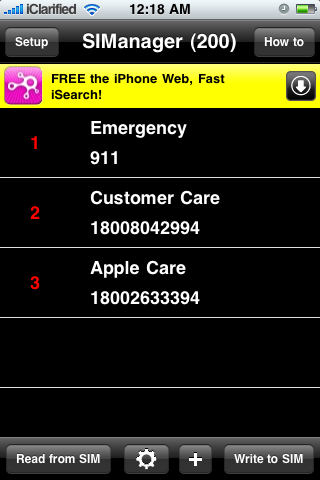
Step Nineteen
SIManager also allows you to copy all the contacts on your iPhone to the SIM card. Press the Gear icon at the bottom of the screen then press the large Copy iPhone to SIM button.
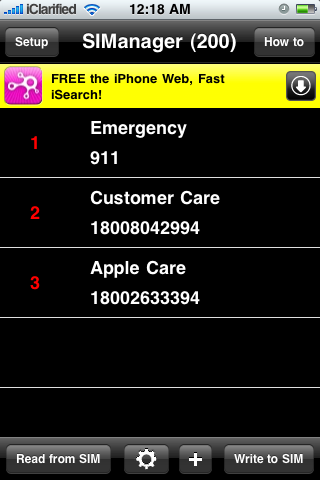
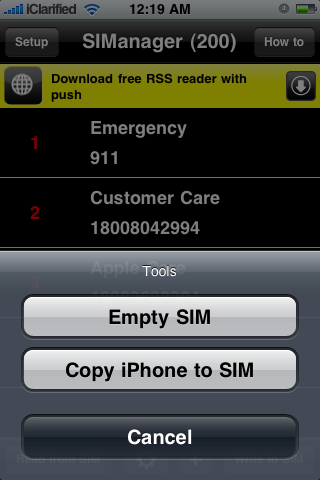
You will be asked to confirm this action. Press the OK button.
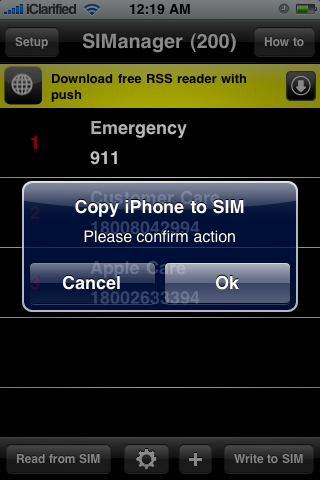
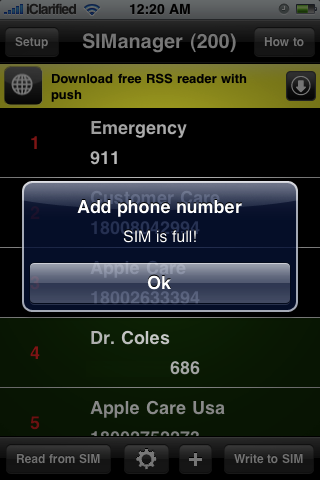
If you have more then 200 numbers you may be informed that the SIM is full. Press the large OK button.
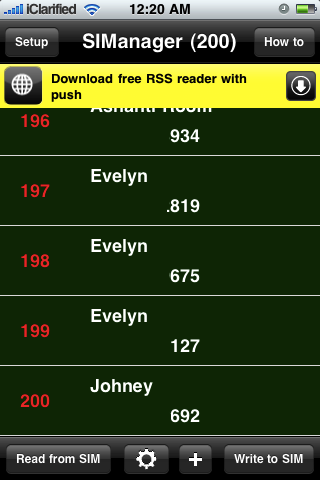
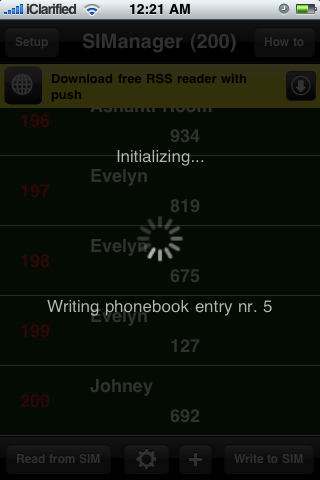
To commit the changes to the SIM card press the Write to SIM button at the bottom of the screen.
Step Twenty
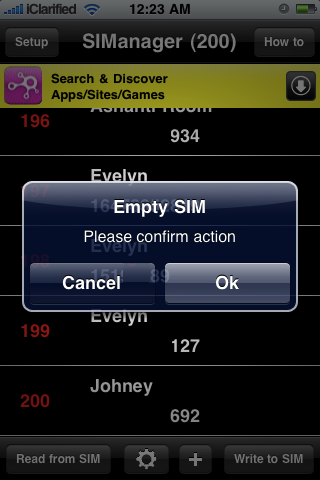
You can also use SIManager to empty your SIM card. Press the Gear icon at the bottom of the screen then press the Empty SIM button.

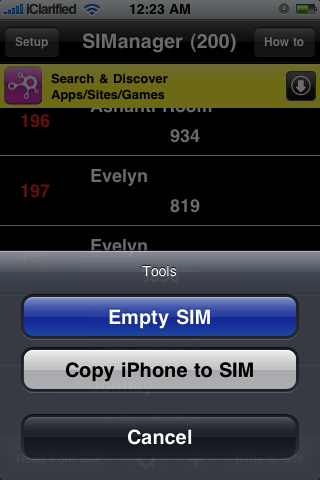
Press the OK button to confirm the action.
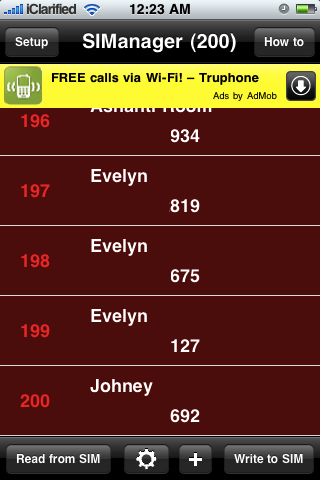
Notice all the numbers to be deleted have a red background. Press the Write to SIM button to commit the changes.
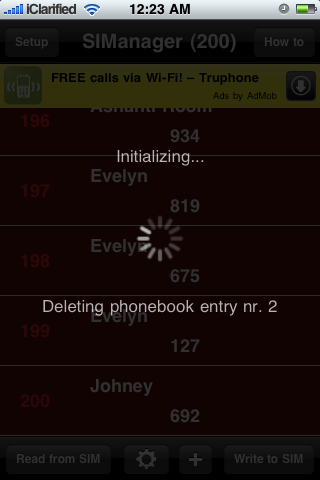
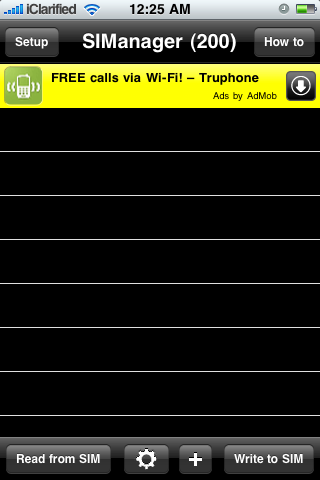
Once done your list of contacts on the SIM card will be empty!
Step One
Press to launch Cydia from your iPhone Springboard.

Step Two
Press to select Manage from the tabs at the bottom of the screen.

Step Three
Press the large Sources button.

Step Four
Press the Edit button at the top right of the screen.

Step Five
Press the Add button at the top left of the screen.

Step Six
Input http://repo.beyouriphone.com then press the Add Source button.

Step Seven
Once the source has been successfully added, press the large Return to Cydia button.

Step Eight
Press the Done button to exit Edit mode.

Step Nine
Press to select the BeYouriPhone repository from the list of sources.

Step Ten
Press to choose SIManager from the list of packages.

Step Eleven
Press the Install button at the top right of the screen.

Step Twelve
Press the Confirm button to begin installation.

Step Thirteen
Once installation has completed successfully press the Return to Cydia button.

Step Fourteen
Press the Home button to return to your Springboard then tap the SIManager icon to launch the application.

Step Fifteen
Once the program has opened you can use the Setup button at the top left to enable Fast Read as well as set the SIM name format. ie Firstname/Lastname or Lastname/Firstname.

Step Sixteen
To read your contacts from the SIM card press the Read from SIM button at the bottom of the screen.


Once all the contacts have been loaded they will be displayed on the screen.

Step Seventeen
You can press to select a contact and choose to Modify, Delete, or Import it.


Step Eighteen
To add a contact to your SIM card you can press the + button at the bottom of the main screen.

Navigate through your contacts and select the one you would like to add.

Then select the specific number or press the Add all button if you would like to add all the contacts numbers. Press the SIManager button at the top left to return to the main screen.

You will notice that the contact has been added to the list and appears on a green background. This means that when you write to the SIM card this contact will be added.

Press the Write to SIM button at the bottom right to commit your changes to the SIM card. Notice when you are done the contact now appears on a black background similar to the other contacts in your list.


Step Nineteen
SIManager also allows you to copy all the contacts on your iPhone to the SIM card. Press the Gear icon at the bottom of the screen then press the large Copy iPhone to SIM button.


You will be asked to confirm this action. Press the OK button.

If you have more then 200 numbers you may be informed that the SIM is full. Press the large OK button.

To commit the changes to the SIM card press the Write to SIM button at the bottom of the screen.


Step Twenty
You can also use SIManager to empty your SIM card. Press the Gear icon at the bottom of the screen then press the Empty SIM button.


Press the OK button to confirm the action.

Notice all the numbers to be deleted have a red background. Press the Write to SIM button to commit the changes.


Once done your list of contacts on the SIM card will be empty!


0 comments:
Post a Comment