this guide teaches you how to take apart an iPhone 5. It is the same method for all models (CDMA and GSM).
Supplies you will need:
- Small Phillips screwdriver
- Small flathead screwdriver
- Case opener tool
- Pentalobe screwdriver (this is a 5 pointed star - newer iPhones have this instead of the standard Phillips)
- Small Suction Cup
I also recommend having a nice clean and clear work space. It's a good
idea to lay the screws and parts out as you pull them to keep them in
order and make sure you don't forget or lose anything when putting the
phone back together.

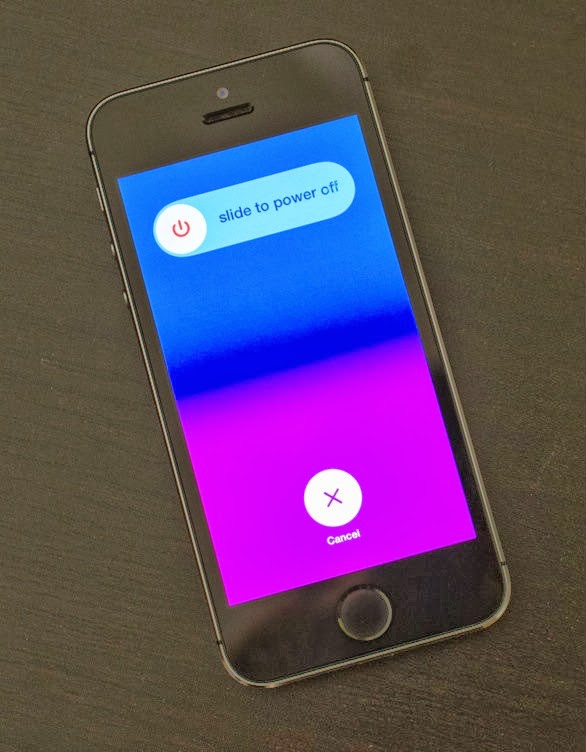
Please remember before doing any work on the phone to power it off and pop the SIM tray out of the phone!
First thing first, just like on the last 2 versions of the iPhone the 4
and 4S we are going to start with the bottom and remove the 2 small
pentalobe screws located there.

Next we are going to grab are small suction cup and place it on the
bottom half of the screen just above the home button. Now this is parts
in a little dangerous so be EXTREMELY careful. What you want to do is
lift the screen up while holding the back of the phone in the other hand
and pull the screen toward you. You are wanting just enough of a gap to
place your case opener tool under the screen. Once you get you tool
under the screen work both sides gently till the screen releases.


Now that you have the screen popped up there are 3 small screws holding a
small shield that covers the flex ribbons you will need to remove the
phillips screws and the shield. Once the shield is off with the case
opener tool (or finger nail) release the 3 ribbons holding the screen to
the logic board.

Before I go on a lot of people will probably say you need to release the
battery connector before removing the screen. If you powered off the
device off first this isn't exactly necessary and secondly trying to
remove the battery before the screen is extremely hard to to without
ruining something inside the phone….
If you disagree thats fine we agree to disagree.
 stop here if u are replacing screen
Now we are going to remove the battery from the housing. First thing you
will need to do is remove 3 phillips small screws holding 2 shields
blocking you from releasing the battery connector. Remove the screws and
shield and with your case opener tool pop the connection up. Now with
the battery tab and the help of the case opener tool pry the battery up
and out. ( if the battery bends a bit don't worry they are suppose to
flex a bit)


Next lets remove a hand full of screws we are going to start at the top and remove 2 small phillips screws.

Now we are going to remove 2 phillips screws holding the Flash/camera into place.

Before we continue removing another million screws let release some of
the cables.There is going to be 1 flex ribbon cable this is for the
power, mute, and volume controls, and 2 antenna cables. they all easily
pop up with the help of the case opener tool.


Sigh glad those are out the way lets get back to some more screws. IF
you look at the logic board you should see a total of 5 screws to just
small phillips and 3 screws that smaller screws screw into that need to
be removed with a small flat head screw driver.

Now that you have those 5 screws out release the dock connector flex and
one last antenna cable. After that the logic board should easily come
out of the phone.
BUT WAIT before you just yank the
board out of there make sure to get the antenna cable that is located at
the bottom of the logic board and unplug it!

Now that logic board is free 2 small phillips screws are holding one
last shield keeping you from taking the camera off the logic board.
Remove those and with the case opener tool pop the camera off. Glad
Apple took the time to make sure are the cables and wires where help in
securely.

Lets shimmy are way down to the new lightning dock connector. Only 7 yes 7 small phillips screws are holding it in place.

Remove all the screws, then gently pry up the the connector getting the
case opener tool to help with a little leverage aint a bad idea since
Apple wasn't shy on using glue to hold this thing down. The lightning
connector, head phone jack, and the mic should all come out in one
massive piece.


Tada you have done it now good luck putting it back together and Happy fixing or in my case modding! ModMyi Blue FTW!


This article was originally published in device solver:
How to Take Apart the iPhone 5
started by sachin
czar
I also recommend having a nice clean and clear work space. It's a good
idea to lay the screws and parts out as you pull them to keep them in
order and make sure you don't forget or lose anything when putting the
phone back together.
Please remember before doing any work on the phone to power it off and pop the SIM tray out of the phone!
First thing first, just like on the last 2 versions of the iPhone the 4
and 4S we are going to start with the bottom and remove the 2 small
pentalobe screws located there.
Next we are going to grab are small suction cup and place it on the
bottom half of the screen just above the home button. Now this is parts
in a little dangerous so be EXTREMELY careful. What you want to do is
lift the screen up while holding the back of the phone in the other hand
and pull the screen toward you. You are wanting just enough of a gap to
place your case opener tool under the screen. Once you get you tool
under the screen work both sides gently till the screen releases.
Now that you have the screen popped up there are 3 small screws holding a
small shield that covers the flex ribbons you will need to remove the
phillips screws and the shield. Once the shield is off with the case
opener tool (or finger nail) release the 3 ribbons holding the screen to
the logic board.
Before I go on a lot of people will probably say you need to release the
battery connector before removing the screen. If you powered off the
device off first this isn't exactly necessary and secondly trying to
remove the battery before the screen is extremely hard to to without
ruining something inside the phone….
If you disagree thats fine we agree to disagree.
(Stop Here if you are just replacing the screen)
Now we are going to remove the battery from the housing. First thing you
will need to do is remove 3 phillips small screws holding 2 shields
blocking you from releasing the battery connector. Remove the screws and
shield and with your case opener tool pop the connection up. Now with
the battery tab and the help of the case opener tool pry the battery up
and out. ( if the battery bends a bit don't worry they are suppose to
flex a bit)
Next lets remove a hand full of screws we are going to start at the top and remove 2 small phillips screws.
Now we are going to remove 2 phillips screws holding the Flash/camera into place.
Before we continue removing another million screws let release some of
the cables.There is going to be 1 flex ribbon cable this is for the
power, mute, and volume controls, and 2 antenna cables. they all easily
pop up with the help of the case opener tool.
Sigh glad those are out the way lets get back to some more screws. IF
you look at the logic board you should see a total of 5 screws to just
small phillips and 3 screws that smaller screws screw into that need to
be removed with a small flat head screw driver.
Now that you have those 5 screws out release the dock connector flex and
one last antenna cable. After that the logic board should easily come
out of the phone.
BUT WAIT before you just yank the
board out of there make sure to get the antenna cable that is located at
the bottom of the logic board and unplug it!
Now that logic board is free 2 small phillips screws are holding one
last shield keeping you from taking the camera off the logic board.
Remove those and with the case opener tool pop the camera off. Glad
Apple took the time to make sure are the cables and wires where help in
securely.
Lets shimmy are way down to the new lightning dock connector. Only 7 yes 7 small phillips screws are holding it in place.
Remove all the screws, then gently pry up the the connector getting the
case opener tool to help with a little leverage aint a bad idea since
Apple wasn't shy on using glue to hold this thing down. The lightning
connector, head phone jack, and the mic should all come out in one
massive piece.
Tada you have done it now good luck putting it back together and Happy fixing or in my case modding! ModMyi Blue FTW!